
Start with a shirt you already like wearing. Perhaps the collar feels comfortable through a meeting, the sleeves let you reach a keyboard, and the body sits the way you prefer when tucked. That shirt contains useful information about your preferences. Put it beside the next one you are considering and you can ask a more specific question than whether you usually wear medium or large.
Fit brings together the garment, your body, your movements and the way you want to wear it. A roomy overshirt and a woven business shirt can both work well, with different amounts of space and different shapes. The following comparison is intended for an ordinary woven shirt. Stretch fabrics and deliberately unusual cuts need their own interpretation.
First establish what the numbers describe
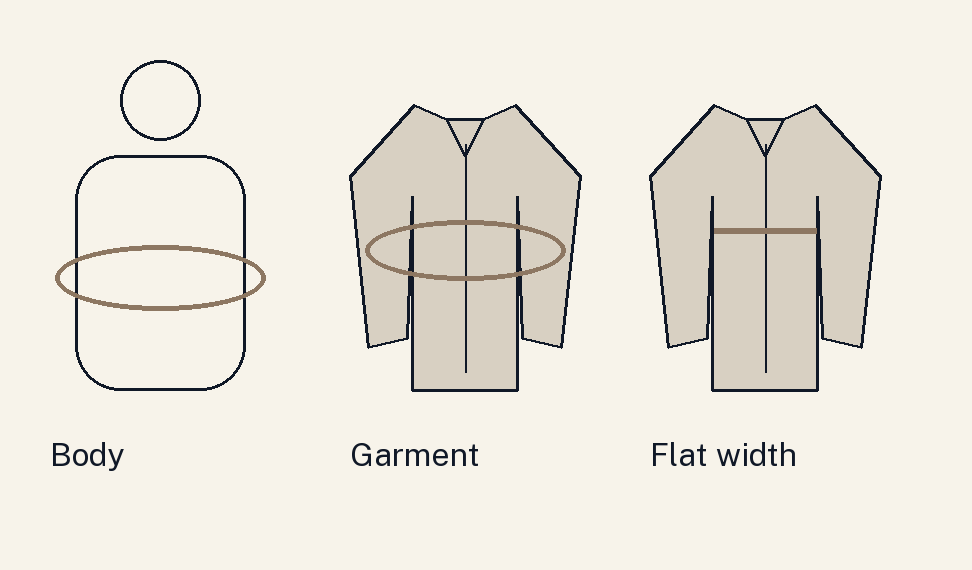
A size chart can describe body measurements, finished garment measurements or the width of a garment laid flat. Find out which kind you are reading before comparing numbers. A chest circumference measured around a person and a straight line across a shirt are different quantities. A familiar number beside the word chest does not resolve that difference.
For a simple fictional example, suppose a seller defines a flat chest width of 54 centimetres as half a finished circumference of 108 centimetres. That conversion belongs to the stated method. Check the actual guide for the garment you are considering. Pleats, shaping and different measuring points can make a casual comparison misleading. Record the unit as well as the number.
The difference between body and garment circumference is often discussed as ease. It provides room, and also contributes to the intended silhouette. The appropriate amount depends on the fabric, construction and your preferences. You cannot safely carry a single recommended allowance across every shirt. A measurement is useful when it helps you predict a result you can then try.
Make the reference shirt a fair comparison
Choose a reference you would happily wear for the same purpose. An untucked weekend shirt can tell you about one preference, but its length may offer little help with a shirt you want securely tucked during a working day. Note the reference's fabric, intended use and current condition. A frequently washed favourite is a different starting point from an unworn garment.
Follow the seller's measurement method on both shirts. Proper Cloth's published instructions, for example, define particular points for flat chest width and a particular route for sleeve length. Another chart may use a different route. A sleeve measured from the shoulder cannot be compared directly with one measured from the centre back simply because both are called sleeve length.
Smooth the shirt on a suitable surface without stretching it. Write down where you started and ended each measurement. A quick phone photograph of the tape position can make the record easier to repeat. If a number seems surprising, measure again before deciding that the garment is wrong. This small preparation makes a later question to a seller much clearer.
Compare the middle as well as the chest
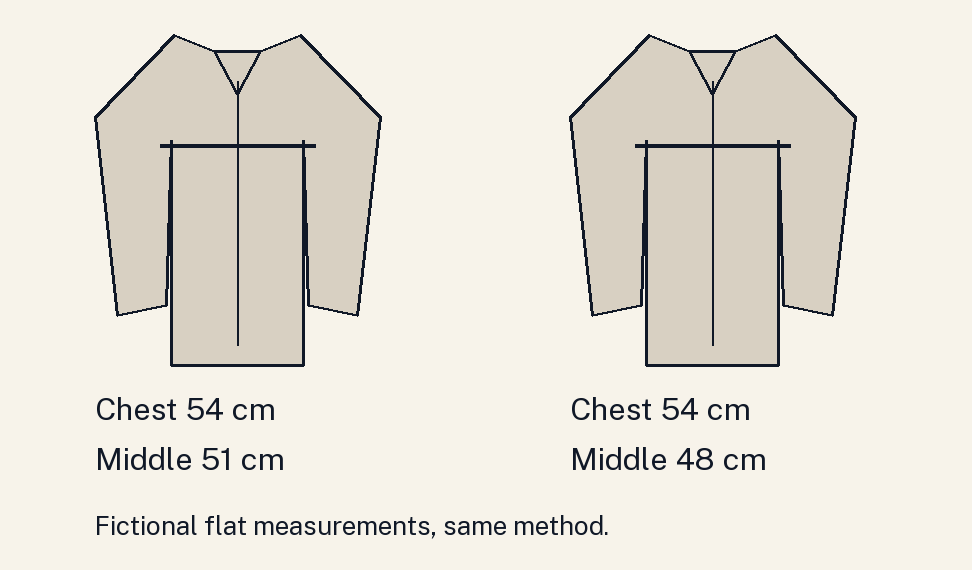
Two shirts can have the same chest width and feel different at the middle. Consider an illustrative pair measured by the same method: both are 54 centimetres across the chest, but the reference is 51 across the midsection and the candidate is 48. Their listed chest widths match while their shapes diverge. The candidate deserves a closer check around the middle.
That example does not tell us whether either shirt will suit a particular person. It identifies a difference worth testing. If your reference already gives you the room you enjoy when seated, a narrower middle may change the experience. If you deliberately want a closer shape, it may be an option. Keep the decision attached to your intended result.
Look at the back, side seams and front closure together. A fold by itself cannot diagnose a construction problem. Fabric, posture and the intended cut all affect what appears. Describe the observation first: the buttons pull apart when seated, the side seam twists, or the back feels restricted when reaching. That description is more useful than calling the whole shirt too small.
Try the shirt in the arrangement you need
Use the trousers, undershirt and outer layer you expect to wear. Tuck the shirt if that is the plan. Close the collar if the occasion needs it closed, and put on the tie if you intend to use one. You are checking an arrangement that has to work together. A different trouser rise can change how the tucked section behaves.
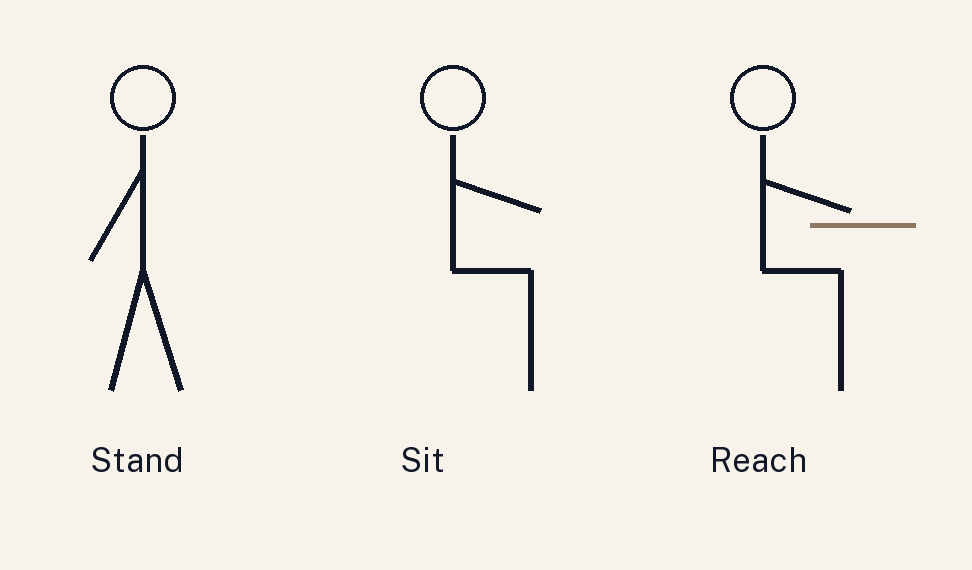
Begin standing comfortably, with your arms relaxed. Check whether you enjoy the shape through the shoulders and body. Then sit, reach towards your usual working position and bend your arms. Notice where you feel pressure and whether the closure strains. These are practical observations about this garment on you. They do not require rating or correcting your body.
Try the same movements with your outer layer. A shirt that feels easy on its own may behave differently beneath a jacket. Notice whether the sleeves catch, the collar sits comfortably and the hem stays where you expect. If the shirt shifts, describe when it happens. A tailor or seller can work with an account of a particular movement and location.
Check the collar, cuffs and length separately
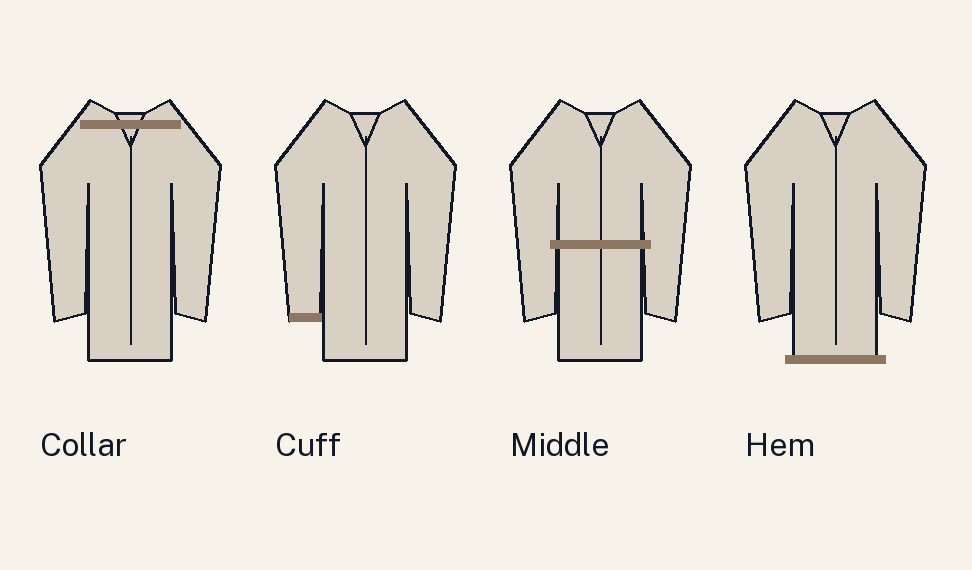
At the collar, begin with comfort in the state you will use. Turn your head and swallow normally while it is fastened if you expect to wear it that way. Pressure, discomfort or difficulty moving are useful reasons to reconsider the candidate. An open collar also deserves a look: its height and opening contribute to the shape you see around your face.
At the cuff, compare relaxed arms with the working position. Notice whether the sleeve allows movement and where the cuff returns afterwards. A watch can change how a cuff sits, so include it if it is part of your ordinary day. Decide whether you enjoy the amount of fabric above the cuff. Your preferred balance may differ between a work shirt and an overshirt.
Length needs its own decision. Try the shirt tucked and move through the same short sequence. If you want an untucked option, view the hem with the actual trousers and shoes. A shirt designed for tucking can have a hem shape you prefer to keep tucked. Record the wearing mode that works, so the reference remains useful for the next comparison.
Turn the result into a useful next step
Imagine that the candidate's collar and sleeves feel right, while its middle presses when you sit. You now have a specific question: is there another cut with a roomier midsection while retaining these collar and sleeve dimensions? Going up a size may change several other areas. Ask for the relevant garment measurements before assuming that the label alone will solve the issue.
If you are considering an alteration, ask an independent tailor to inspect the actual garment. Construction, available cloth and the relationship between parts determine what is possible. A general online diagram cannot promise that a seam can be released or a shoulder changed successfully. Get an assessment and price before treating alteration as part of a purchase decision.
Keep a short reference note: the shirt, the measuring method, the wearing mode, what feels comfortable and what you would change. Add the actual observations from sitting and reaching. Follow the garment's care instructions, and check the seller's return conditions before washing or wearing a candidate beyond a try-on. The note gives your next comparison a concrete starting point.
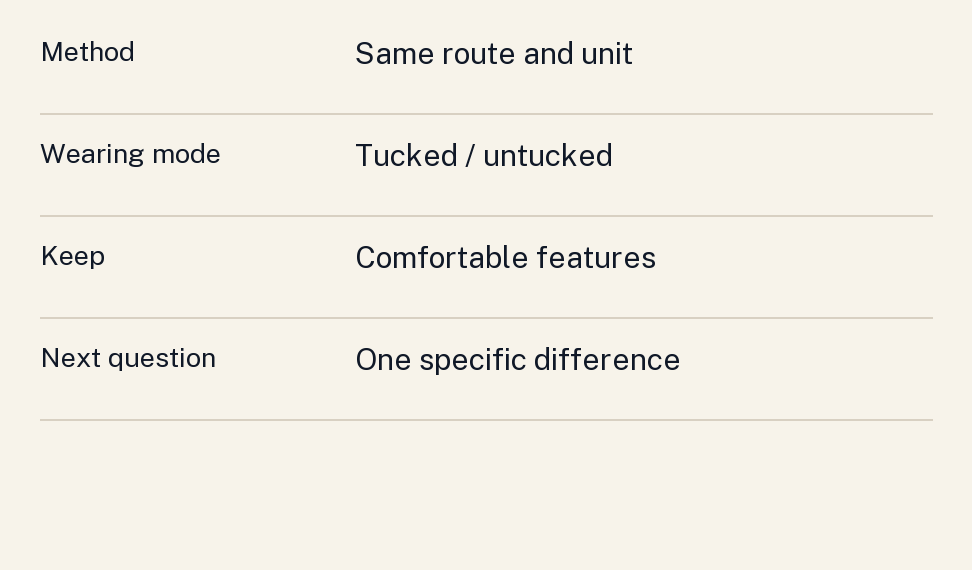
A worked comparison to take with you
Add two more fictional measurements to the earlier pair. Suppose the reference has a back length of 77 centimetres and the candidate measures 74 by the same route. Both sleeves measure 86 from the same centre-back starting point. Your comparison now contains four observations: equal chest widths, a narrower candidate midsection, a shorter candidate back and matching measured sleeve lengths. Keep the numbers together with the method.
If you intend to tuck the shirt, the shorter back becomes a question to investigate during movement. If you intend to wear it untucked, you may enjoy that length, depending on its hem shape and the rest of the outfit. Matching sleeve measurements also leave questions about shoulder construction and where the cuffs settle on you. Similar dimensions narrow the comparison without settling every result.
You could send the seller this concise question: my reference is 54 centimetres across the chest and 51 across the middle using your method; the candidate lists 54 and 48. Do you have another cut with more room at the middle? Include the intended size and exact chart you used. The seller can answer a defined measurement question, and you can keep the collar, length and sleeve questions separate.
That is the value of the exercise. You retain what works in the reference, identify a particular difference and choose the next comparison with a reason. A familiar size label can remain a helpful starting point alongside this more detailed record.
Sources
- Wendy Hamilton, Pattern Alteration, New Mexico State University, C-228. Pattern-making context; supports the dependence of ease on fabric, design and preference. Its numerical allowances are not used here.
- Proper Cloth, How to Measure a Dress Shirt. Maker-specific measurement instructions, credited as such.
- Proper Cloth, How to Evaluate Your Shirt Size. Practitioner guidance on intended combinations and movement. Its washing, remake and return policies do not apply to other sellers.
The worked dimensions, reference note and comparison sequence are original editorial examples. This guide offers observations for a try-on; it does not diagnose a tailoring fault from a photograph.